Chris O'Brien
@
Once the sales process has taken place, materials checked, ordered and delivered, the installation is to take place. Depending upon the size of the project, the materials can be delivered the following day or sometimes weeks later. For a customer it must be a great sight to see something which has been in discussions, sometimes for months, or even years, to arrive and await its installation.
Before the Delivery Takes Place
The installation process is well thought out with details planned prior to the materials arrival.
Firstly, thought needs to be given to the externals of the building: the roller shutter doors, the yard, the turning circles, height restrictions and even the road into the premises. Can the unit even accept a delivery of a 12m pallet racking bundle? Is this has not been considered and the delivery arrives, there must be a huge loss of trust and disappointment from all sides as to how the materials can be off-loaded and brought into the building. Thankfully this is an issue I have never encountered through careful planning.
Upon Delivery
Once the materials arrive, they will need to be off-loaded. To minimise the distance these need transporting once off-loaded, the aim is to have the materials off-loaded internally. Ideally the 40ft articulated vehicle reverses into the unit so access to both sides of the trailer can be accesses. The surrounding area is to be clear of materials, plant and made a temporary construction zone for the safety of those around. Once the trailer curtains are moved back and strapping undone, the materials can be off-loaded.
The installation manager will discuss with their team a suitable material set down zone which will allow them access to the relevant parts. For example, they need to ensure that a pallet of frame fixings is not off-loaded first and placed behind bundles of beams and uprights with no access to it. This re-shuffle of materials will cause delays on site which always are to be avoided.
Installation Packs
The Project Manager will issue the team with an installation pack. This should contain a fully comprehensive method statement and risk assessment (RAMS) which will be signed by the team prior to starting. Depending upon the project size, a number of drawings will also be included. These drawings include:
- Plan view containing datum points
- For pallet racking installations – frame bracing make up, aisle centres, beam levels etc.
- For mezzanine floors – column grid, beam/purlin locations, decking and handrail layout etc.
The purpose of the drawings is to provide the installation team with a clear method of how the build process is to take place.
Each installation team will have a preferred method of build and it would be a poor decision for the Project Manager to interfere with this. The installers are used to a certain method build and as mentioned previously, the RAMS contain this so a familiar build method is used. There will always be a scenario which is outside the ‘typical build’ process. Careful thought and planning are required to ensure the works take place, with the emphasis being aimed towards safety.
The Build Process
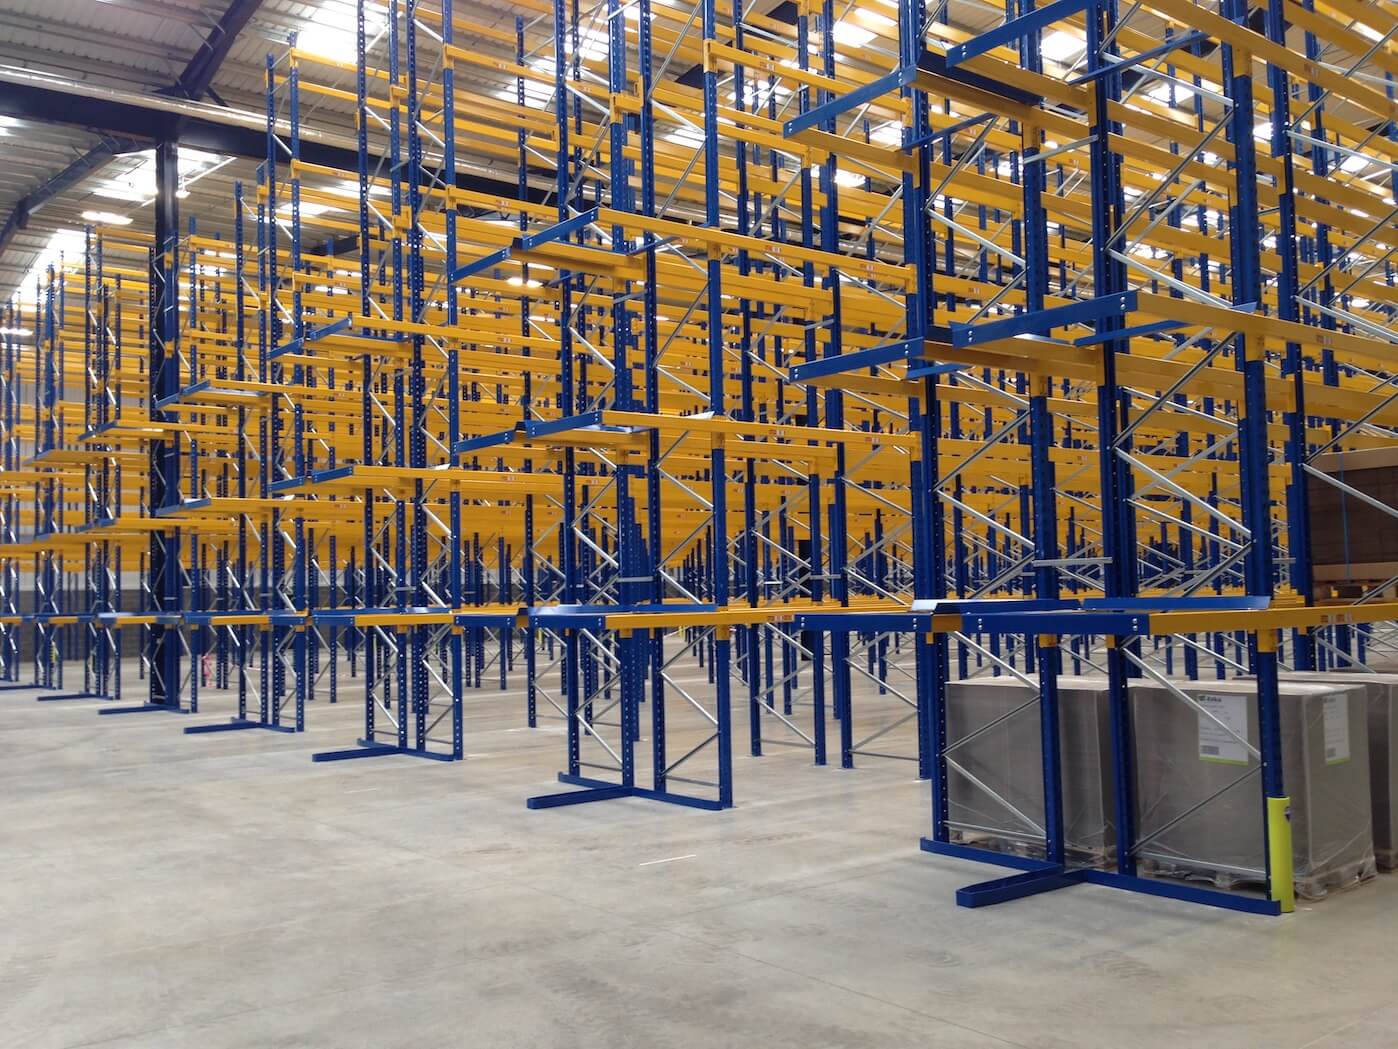
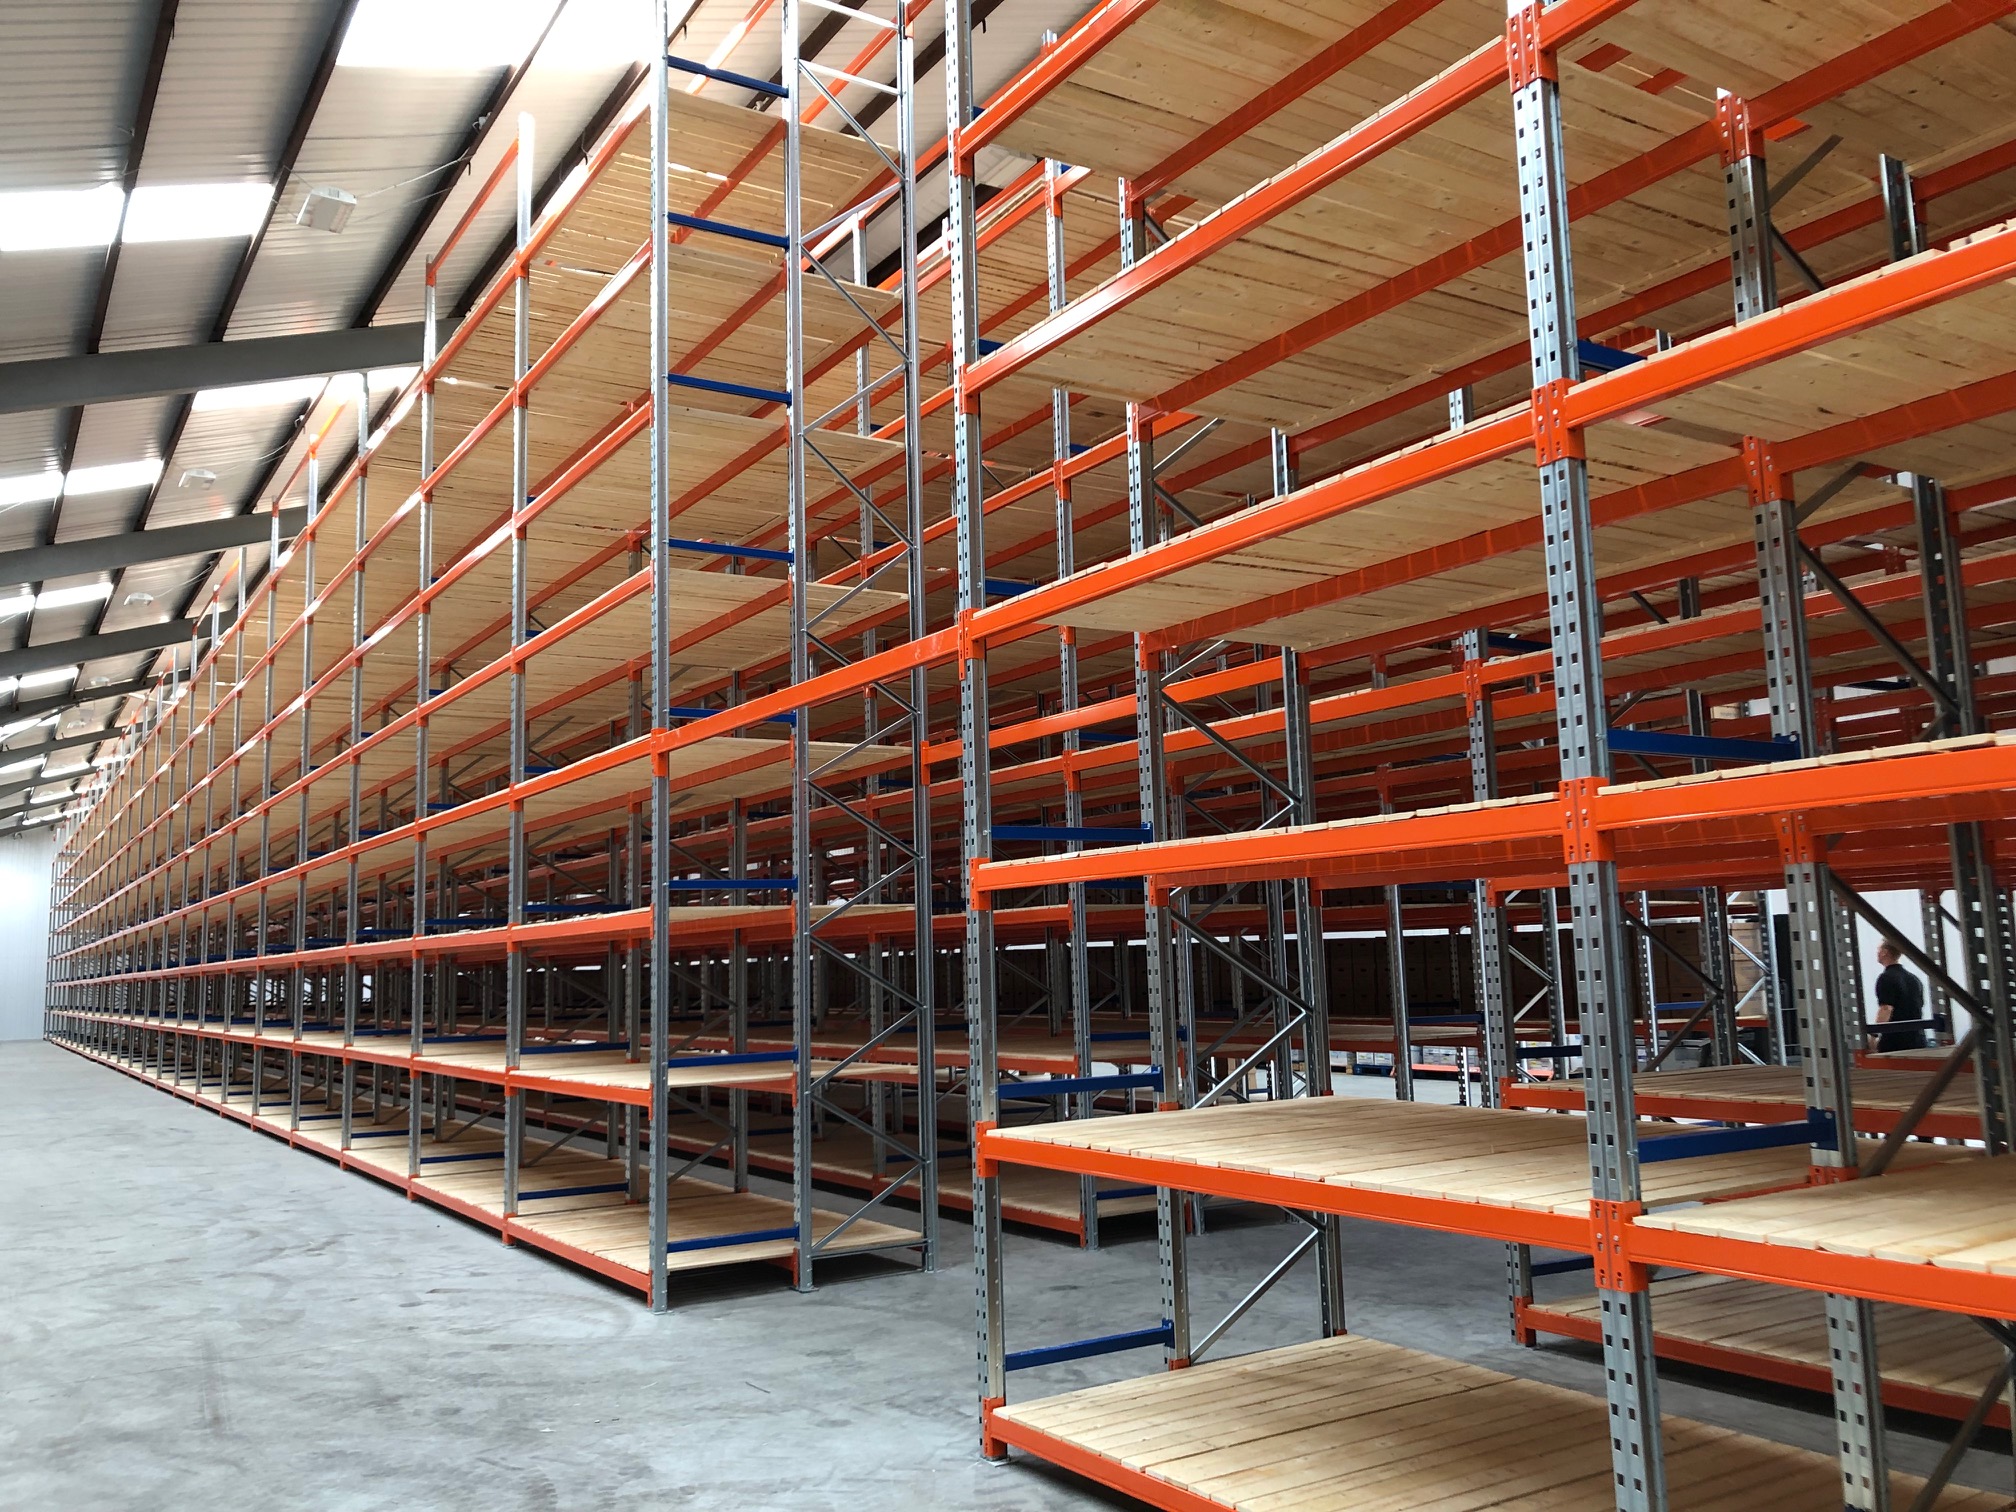
The below will focus on a pallet racking installation:
A blueprint frame is constructed by installing the base plates, horizontal bracing, diagonal bracing, splice kits (if applicable), top horizontal bracings, all held in the correct locations through the supplied fixings. This frame is technically completed but is not removed from the jigging station. A jigging station can be made from something as simple as a stack of pallets waist height or made from a ‘mini-frame’ from old pallet racking off cuts.
The second frame has the upright positioned directly above the blueprint frame and the bracing placed into the correct node points on the upright. This process speeds up the installation of making frames as the measurements have been removed, they are already correct on the below frame.
The second frame is removed and a third constructed. The ready-made frames are removed from the work benches and stored ready for installing. If the project is large, a second team will be utilising the ready-made frames and erecting the racking which the ‘jigging team’ are keeping the stock pile of frames with ample quantities.
Due to the weights of the frames, mechanical lifting equipment is required. The correct plant will ease the installation process so ordering a suitable forklift truck and scissor lifts is essential.
The drawing with the datum points is used and chalk lines laid on the floor. These are used to ensure the installation runs straight and gives the team a location for setting down a frame.
The installation team will use the forklift truck to raise the frames and manoeuvre them to the area where the frames will be stood. The frame is held in position whilst low level beams are fitted, the adjacent frame is stood and the beams connected. This will form the master bat which is nudged into position and fixed down, adjacent master bays are stood. Further bays can now be added by fitting beams and frames along the length of the run. These are checked, lined and levelled and floor fittings drilled to ensure the run is stable. The frames are then stood on the other side of the aisle and the process is repeated until all runs of racking are installed.
Ancillaries such as barriers, decking (mesh or timber), anti-collapse mesh, post protection, labelling and load notices can be installed.
Upon completion, the racking is inspected and signed off then handed over to the customer for use.
For more information please call 01423 819057 or email sales@warehousestoragesolutions.com for a free visit and quotation.